


A properly functioning diaphragm valve ensures system efficiency and prevents costly leaks. Signs of damage often include reduced flow, operational difficulty, or visible leaks. Using high-quality components like K2503 viton membrane CA25T CA25DD pulse valve or K2530 viton diaphragm repair kits RCAC25FS3 RCAC25FH3 pentair pulse valve can restore performance. Diaphragm repair kits CA simplify maintenance, while K2000 nitrile membrane maintenance kits 3/4 inch pulse valve CA-20T offer reliable solutions.
Key Takeaways
- Shut off the water supply first to avoid leaks or floods.
- Use good-quality parts, like repair kits, for better fixes.
- Check all parts for damage and clean the valve before putting it back together.
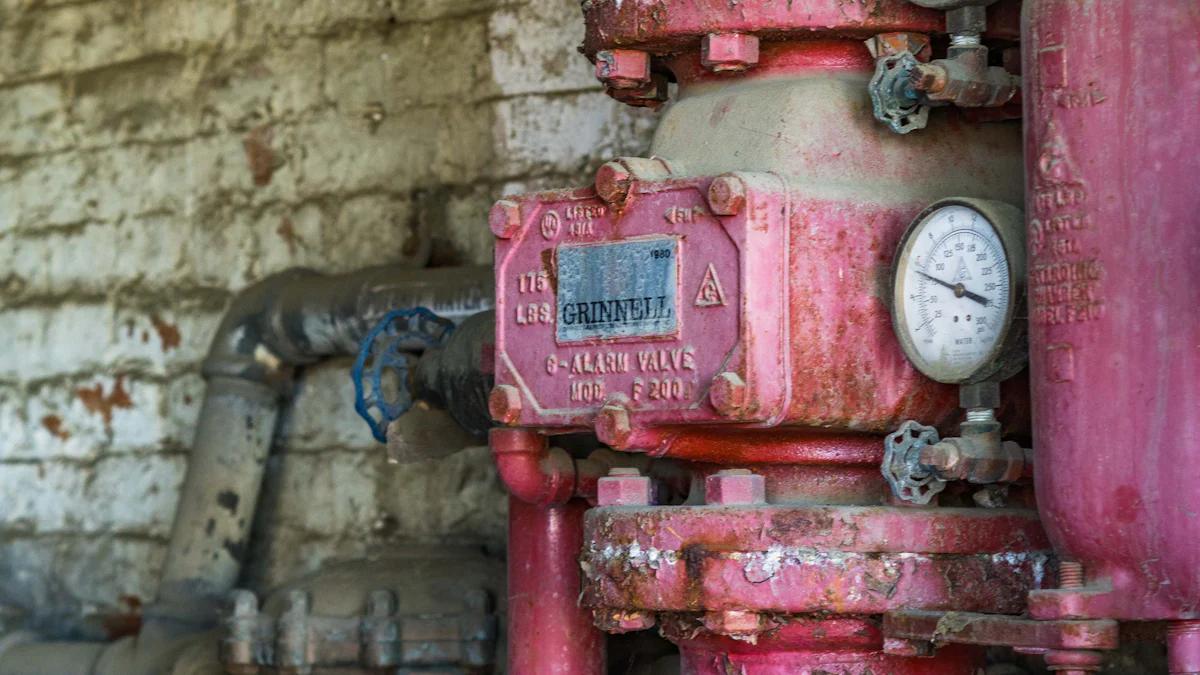
Tools and Materials for Diaphragm Valve Repair
Essential tools for disassembly and repair
Repairing a diaphragm valve requires specific tools to ensure precision and efficiency. A wrench set is essential for loosening and tightening valve components. Screwdrivers, particularly flathead and Phillips, assist in removing screws and securing parts during reassembly. Needle-nose pliers prove useful for handling small components or springs within the valve. A utility knife or blade may be necessary for cutting away worn-out diaphragms. For cleaning, a soft brush and a lint-free cloth help remove debris or residue from the valve housing. These tools streamline the repair process and minimize the risk of damage to the valve.
Replacement parts, including diaphragm repair kits CA
High-quality replacement parts are crucial for restoring a diaphragm valve's functionality. Diaphragm repair kits CA provide all the necessary components for a seamless repair. These kits often include a new diaphragm, gaskets, and O-rings, ensuring compatibility with various valve models. Using a reliable kit reduces the likelihood of future malfunctions. For example, K2530 viton diaphragm repair kits RCAC25FS3 RCAC25FH3 offer durability and excellent performance. Always verify the compatibility of the repair kit with the valve model to achieve optimal results.
Safety equipment for a secure repair process
Safety should remain a top priority during any repair. Protective gloves shield hands from sharp edges and chemical exposure. Safety goggles prevent debris or liquid from entering the eyes. A sturdy workbench or surface ensures stability while working on the valve. Additionally, a well-ventilated area reduces the risk of inhaling harmful fumes. Following safety protocols not only protects the individual but also ensures a smooth and efficient repair process.
Step-by-Step Guide to Fixing a Diaphragm Valve
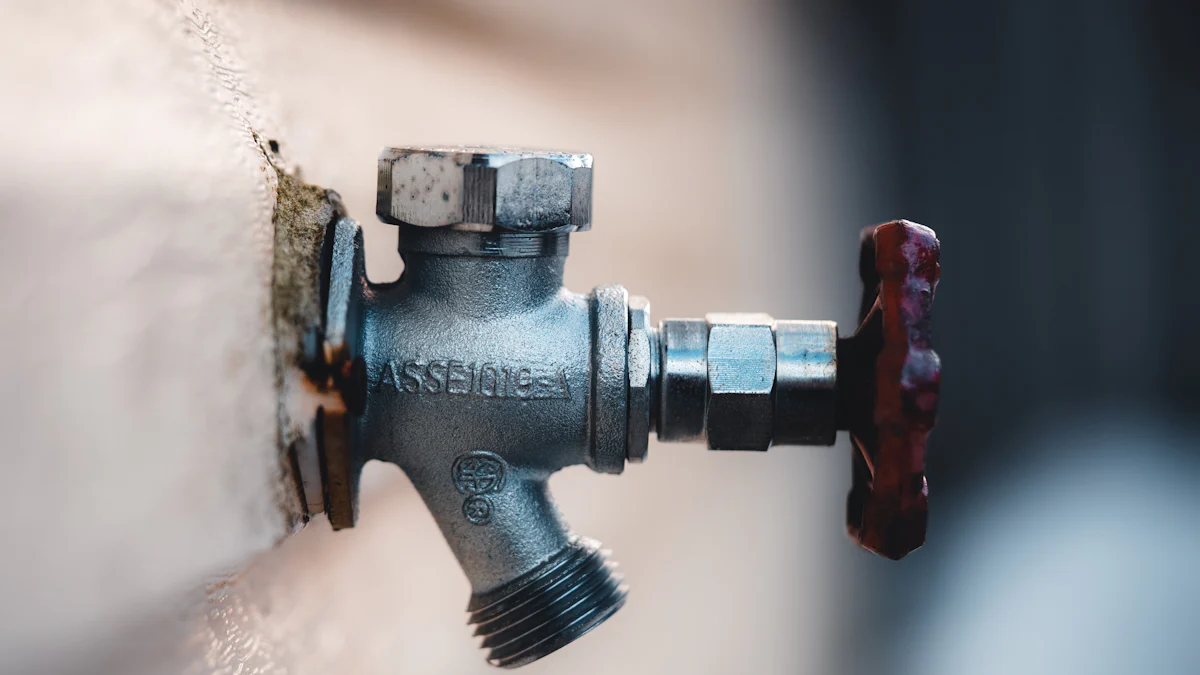
Turning off the water supply and preparing the valve
Begin by shutting off the water supply to prevent leaks or flooding during the repair. Locate the main valve and turn it clockwise until it is fully closed. Drain any remaining water from the system by opening a nearby faucet or outlet. Once the water flow stops, clean the area around the diaphragm valve to remove dirt or debris. This preparation ensures a safe and efficient repair process.
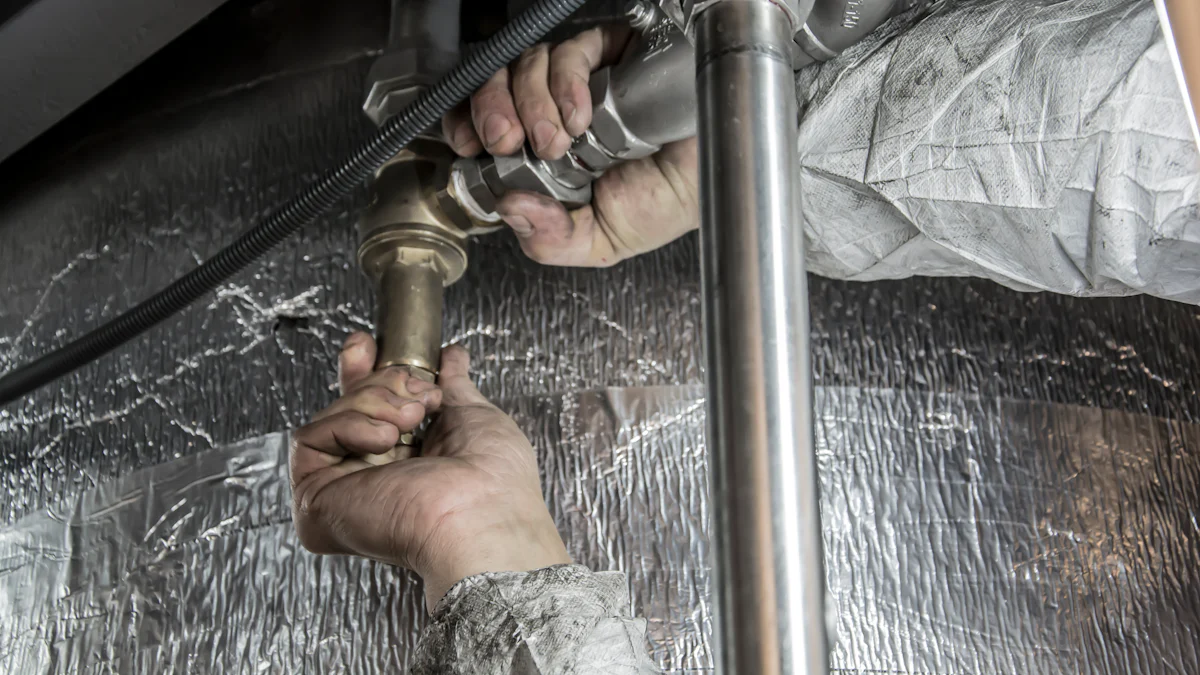
Safely disassembling the valve components
Use the appropriate tools, such as a wrench or screwdriver, to carefully remove the valve's cover or bonnet. Place the screws and small components in a secure container to avoid misplacing them. Gently separate the diaphragm and other internal parts, taking care not to damage the housing or surrounding components. Document the disassembly process with photos or notes to simplify reassembly later.
Inspecting the diaphragm for damage or wear
Examine the diaphragm for visible signs of wear, such as cracks, tears, or deformation. Check for hardened or brittle areas that may compromise its flexibility. Inspect the surrounding gaskets and O-rings for similar issues. If the diaphragm shows minor damage, consider repairing it. For severe wear, replace it with a high-quality option like those included in diaphragm repair kits CA.
Repairing small tears or replacing the diaphragm
For small tears, use a suitable adhesive or patching material to seal the damage. Allow the repair to cure fully before proceeding. If replacement is necessary, select a compatible diaphragm from a trusted source. Diaphragm repair kits CA often include all required components, ensuring a seamless replacement. Follow the manufacturer's instructions for proper installation.
Reassembling the valve and testing for functionality
Reassemble the valve by reversing the disassembly steps. Ensure all components are securely fastened and aligned correctly. Turn the water supply back on and check for leaks or irregularities. Test the valve's functionality by operating it several times. If the valve performs as expected, the repair is complete.
Troubleshooting and Avoiding Common Mistakes
Identifying the root cause of valve issues
Diagnosing the underlying problem is essential for effective diaphragm valve repair. Start by observing the valve's performance. Leaks often indicate a damaged diaphragm or worn-out gaskets. Reduced flow may result from debris blocking the valve or a misaligned diaphragm. Difficulty operating the valve could stem from corrosion or improper assembly. Use a flashlight to inspect internal components for visible damage or obstructions. Testing the valve under controlled conditions can help pinpoint the exact issue. Accurate identification saves time and ensures the repair addresses the core problem.
Common errors to avoid during the repair process
Mistakes during repairs can lead to further complications. Avoid overtightening screws or bolts, as this may damage the valve housing. Using incompatible replacement parts can compromise the valve's functionality. Skipping the cleaning step before reassembly may allow debris to interfere with the valve's operation. Neglecting to document the disassembly process can make reassembly challenging. Always follow the manufacturer's guidelines for torque specifications and part compatibility. These precautions minimize errors and improve repair outcomes.
Tips for ensuring a durable and effective repair
A successful repair requires attention to detail and proper techniques. Use high-quality replacement parts, such as diaphragm repair kits CA, to enhance durability. Apply a thin layer of lubricant to O-rings and gaskets to ensure a secure seal. Tighten components evenly to prevent misalignment. After reassembly, test the valve multiple times to confirm its functionality. Regular maintenance, including cleaning and inspection, extends the valve's lifespan. Following these tips ensures a reliable and long-lasting repair.
Fixing a diaphragm valve involves turning off the water supply, inspecting components, and replacing or repairing the diaphragm. Regular maintenance, such as cleaning and timely part replacement, prevents recurring issues. If the valve continues to malfunction, consulting a professional ensures proper resolution. A well-maintained valve enhances system efficiency and reduces costly downtime.
FAQ
What causes a diaphragm valve to fail?
Diaphragm valves often fail due to wear, chemical degradation, or improper installation. Regular maintenance and using high-quality components can prevent these issues.
How often should diaphragm valves be inspected?
Inspect diaphragm valves every six months to identify wear or damage. Frequent inspections ensure optimal performance and prevent unexpected failures.
Can a damaged diaphragm be repaired instead of replaced?
Small tears can be repaired using adhesive or patching materials. However, replacing the diaphragm ensures long-term reliability and better performance.
Post time: Feb-07-2025